DD-WRT Transmission Seedbox
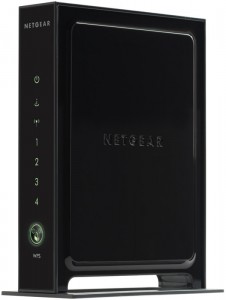
Bittorrent is a peer to peer protocol for sharing files over the internet. Bittorrent reduces the bandwidth costs required to distribute a file over the internet by allowing users to upload to new users once they have downloaded the file. Rather than leave a computer on all the time to seed torrents, I decided to install the Transmission Bittorrent client on my Netgear WNR3500L router, and put that USB port to good use.
I have the WNR3500L’s USB port populated with a 8GB MicroSD card using one of these little adapters from DealExtreme, which is plenty big enough for storing a few Linux ISOs to share. Installing Transmission on a DD-WRT based router is pretty easy. Assuming you have already installed Optware, telnet/SSH to the terminal of your router and run:
ipkg-opt update
ipkg-opt install transmission
Transmission is now installed on your router, but you must take additional steps to complete the setup. In this example, I am storing my torrents in the /jffs/torrent/ directory which is mounted on the MicroSD card. Running transmission-daemon with no arguments uses ~/.config as your configuration directory, which it also creates if it doesn’t already exist. A slight problem exists with this though; ~/ is mounted as a ramfs filesystem. The solution to this is to run transmission-daemon with the -g argument, which allows you to specify a different configuration directory; one that is not wiped at every reboot perhaps. 
transmission-daemon -g /jffs/torrent/.config/transmission-daemon
killall transmission-daemon
This will generate the directory structure that transmission-daemon requires. The configuration parameters can then be edited by editing the settings.json file.
vi /jffs/torrent/.config/transmission-daemon/settings.jsonThis page gives a good overview of what aspect of the program each of the settings is responsible for. When you have tweaked the settings to your liking, the daemon can be started by running the following command./opt/bin/transmission-daemon -g /jffs/torrent/.config/transmission-daemon To make transmission-daemon run everytime the router powers on, it can be added as a startup script, or by adding an entry to /opt/etc/init.d. The final step is to add a firewall rule to allow incoming connections on the peer-port port you have specified in your settings.json file. As an example, I have used 12345 below.
iptables -I INPUT 1 -p tcp --dport 12345 -j logaccept
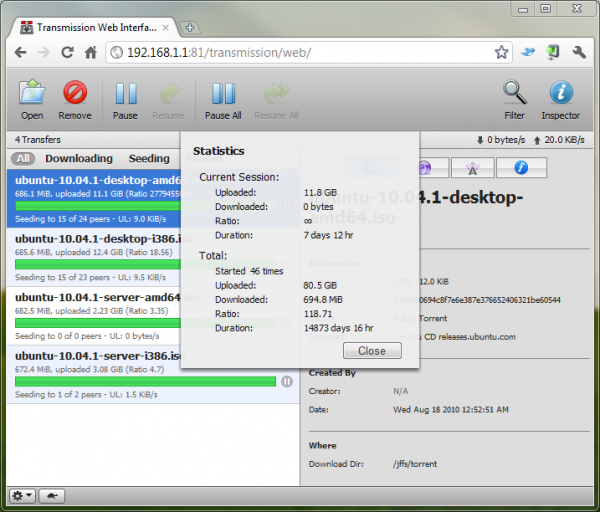
When running, you can access the web interface on the rpc-port specified in settings.json. In the screenshot below, I run my webinterface on port 81.
The reason this post is entitled Bittorrent Seedbox rather than Bittorrent Client, is that I have not been able to successfully download any decent sized torrents (500MB+) without this switch locking up and requiring a manual power cycle. I’m not quite sure what causes the lockup either, and I haven’t had the time to probe the log using a serial cable after it has locked up either. However, it still functions correctly for seeding torrents, which is all I want it for really.
To add torrents, I simply wget the files I want to seed to the torrent directory, and then add the .torrent file using the web interface. After completing the hash checks, the files should begin seeding.
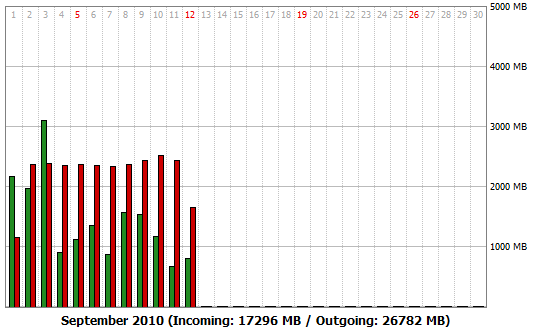
Don’t be afraid to impose speed limits. I have limited my upload speed to 20KB/sec. You’d be surprised how much bandwidth that runs up over the course of a month.


