Arduino Duemilanove Optiboot
You may have noticed that the new Arduino Uno uses the optiboot bootloader. This new bootloader brings two main advantages:
- Smaller bootloader footprint - An additional 1.5kB of space for sketches.
- Increased bootloader baudrate - Faster sketch uploading.
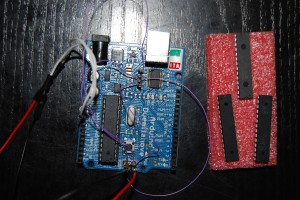
Fortunately for us, these bootloader improvements can be backported to the Arduino Duemilanove. If you have more than one Duemilanove to hand, then is it trivial to flash the new bootloader. Follow this tutorial, and use one Arduino as an In-System Programmer to flash the Uno bootloader to the other.
If on the otherhand, you only have one Arduino, then you must use another method to flash the bootloader.  You might have noticed 4 unsoldered connections on your Duemilanove labelled X3. As you can see from the schematic, these are the CTS, DSR, DCD and RI signals from the FTDI FT232RL USB to serial converter. These pins are not used for anything, but we may toggle them high and low as required (bit bang mode) to emulate the SPI interface required to burn the bootloader.
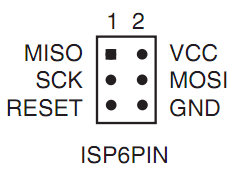
Desolder these pads and solder in 4 pin headers into X3. These 4 headers should then we wired to the 6 pin ISCP header. The MISO, MOSI, SCK and RESET lines can be connected to the 4 X3 pins in an arbitary fashion. We can match up the lines in avrdude.conf later. 
If you happen to have a FTDI breakout board from Sparkfun or what not, you can also use this to program your ATmega328. Simply update the entry in avrdude.conf as required.
The basic instructions for flashing your bootloader are explained nicely on this page, and so, there no point in me reposting.
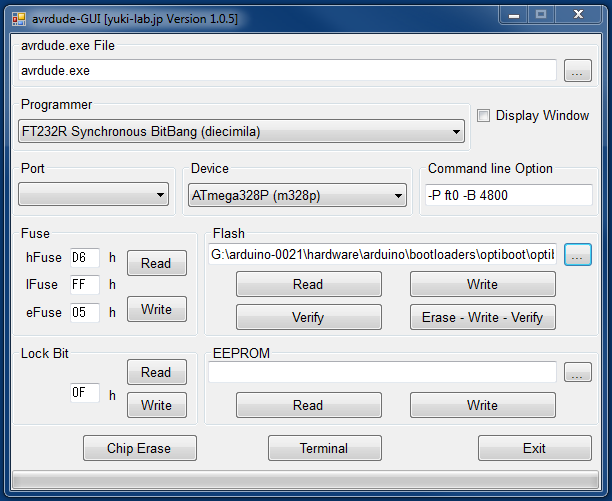
Instead of using the instructions given on the page above for the Duemilanove, change the fuse settings as follows:
- High Fuse: 0xD6
- Low Fuse: 0xFF
- Extended Fuse: 0x05
- Lock Bit: 0x0F
The bootloader file that you wish to flash with is _arduino-0021\hardware\arduino\bootloaders\optiboot\optibootatmega328.hex, located in the Arduino 0021 folder.
Click Erase - Write - Verify, and go have a cup of coffee. This process can take up to 10 minutes (only running at 4800 baud)!
Once programmed, disconnect your ICSP header from the X3 port, and fire up the Arduino IDE, and try to download the blink example. If successful, you should have a blinking LED near Digital 13. If you are getting stk500 errors from avrdude, ensure that you have specified the correct type of Arduino in the Tools/Boards menu. Because you have flashed with a new bootloader, you should be selecting Arduino Uno rather than Arduino Duemilanove.
